
You can transfer photos from iPhone to PC with a USB cable and the apps already on Windows 11. The usual problem is not the copy itself. It is the iPhone not showing up, or only some photos appearing.
This guide covers the five reliable ways to move your photos, then the fixes for when they will not show.
Install Apple’s Apple Devices app from the Microsoft Store, connect the iPhone with a USB cable, unlock it and tap Trust. Then open the Windows Photos app, select Import and choose your iPhone. If you use iCloud Photos with Optimize Storage, some originals live only in iCloud, so use iCloud for Windows instead.

Table of Contents
ToggleBefore You Start: 3 Things to Check
- Apple Devices app: Apple tells Windows users to install the Apple Devices app from the Microsoft Store. It includes the driver Windows needs to talk to the iPhone.
- Unlock and Trust: Windows cannot see a locked iPhone. When the Trust This Computer prompt appears on the phone, tap Trust or Allow and enter your passcode.
- iCloud originals: If iCloud Photos is on with Optimize iPhone Storage, Apple says you must download the full-resolution originals to the iPhone before you import them to a PC.
Way 1: Transfer Photos From iPhone to PC With the Photos App
This is the method Apple and Microsoft both point to, and it lets you pick which photos to copy.
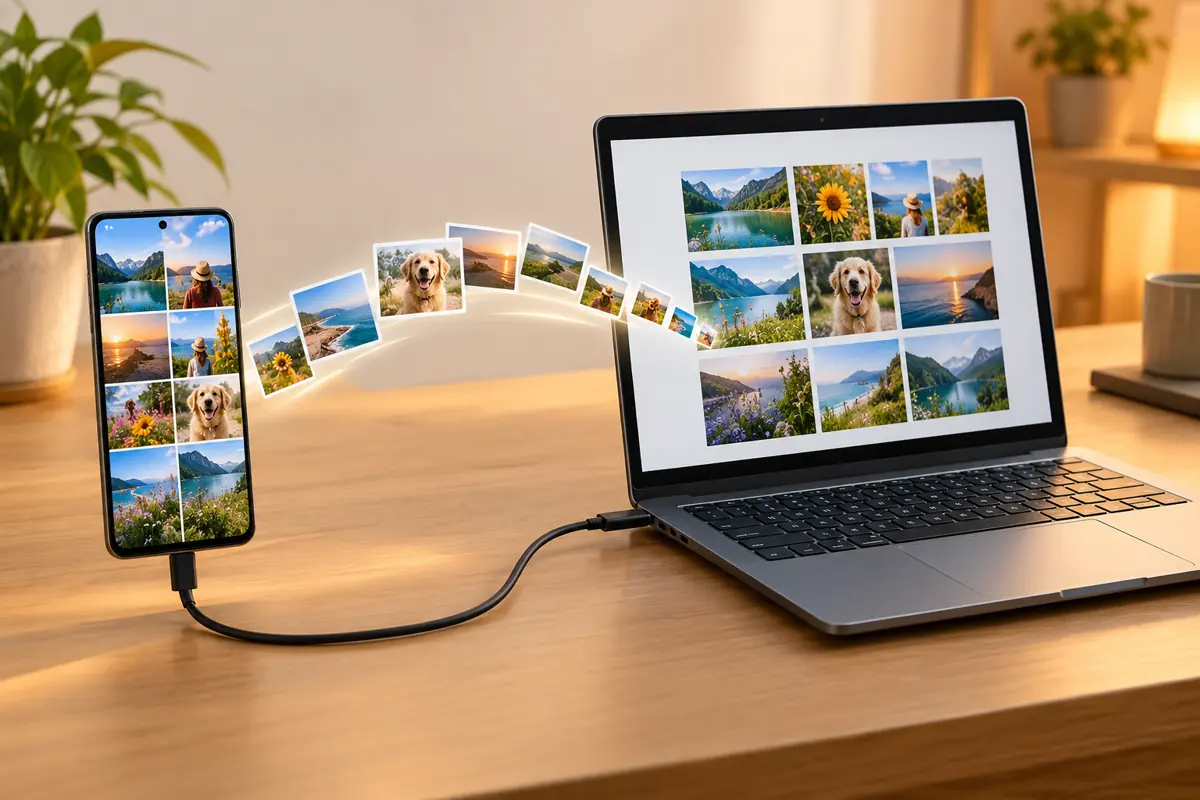
- Connect the iPhone to the PC with a USB cable that supports data, not a charge-only cable.
- Unlock the iPhone and tap Trust if asked.
- Open the Photos app from the Start menu.
- Select Import, then select your iPhone.
- Choose the photos you want, pick a destination folder, and start the import.
Microsoft’s Import photos and videos guide covers the same steps, and Apple’s photo transfer guide lists the iPhone side.
Way 2: Copy Photos With File Explorer
If you prefer dragging folders, File Explorer works too.
- Connect and unlock the iPhone, then tap Trust.
- Open File Explorer and select Apple iPhone in the left pane.
- Open Internal Storage, then DCIM.
- Open the dated folders and copy the photos to a folder on your PC.
Copy rather than move. If the transfer stops halfway, the originals are still safe on your iPhone.
Way 3: Use iCloud for Windows
iCloud for Windows keeps your whole library on the PC without cables, and it includes photos that are not stored on the iPhone itself.
- Install iCloud for Windows from the Microsoft Store and sign in with your Apple Account.
- Click the arrow next to iCloud Photos.
- Turn on iCloud Photos, then click Done.
Apple says the photos are stored in C:\Users\[username]\Pictures\iCloud Photos\Photos. Large libraries can take hours to download the first time.
Way 4: Download From iCloud.com
For a handful of photos on a PC you cannot install apps on, sign in at icloud.com, open Photos, select the pictures and download them. This needs iCloud Photos turned on and is slow for large batches.
Way 5: Send Photos Through a Cloud Drive
If you already use OneDrive or Google Drive on both devices, turn on camera upload in the phone app. The photos then appear in the cloud folder on your PC. Our guide to sharing files between Mac and Windows covers more cross-platform options.
Photos Not Showing When You Transfer Photos From iPhone to PC?
The iPhone Does Not Appear at All
- Unlock the iPhone and stay on the Home screen while it connects.
- Tap Trust. If you tapped Don’t Trust earlier, unplug and reconnect to get the prompt again.
- Try another USB port and an Apple or certified data cable.
- Install or update the Apple Devices app, then restart the PC.
Check the Apple Driver in Device Manager
Apple’s PC recognition steps say to check this driver:
- Right-click Start and open Device Manager.
- Expand Universal Serial Bus controllers and look for Apple Mobile Device USB Driver.
- If you see an error symbol, restart the Apple Mobile Device Service and the PC.
- Under Portable Devices, right-click Apple iPhone and select Update driver.
Only Some Photos Appear
This almost always means iCloud Photos is storing the originals in the cloud. On the iPhone, go to Settings > your name > iCloud > Photos and choose Download and Keep Originals, wait for the download, then import again. Or use iCloud for Windows, which fetches everything from iCloud directly.
Photos Copy but Will Not Open
iPhones save photos as HEIC and videos as HEVC by default. Install Microsoft’s HEIF Image Extensions and HEVC Video Extensions from the Microsoft Store so Windows can open them.
To capture JPEG photos instead, Apple says to open Settings > Camera > Formats and choose Most Compatible. That only affects new photos.
Import in batches of a few hundred photos. Very large imports over USB are more likely to stall, and a smaller batch is quicker to retry.
Switching phones instead? This guide moves your library to Android.
Switching from Android to iPhone? Move your WhatsApp chats without losing them.
Frequently Asked Questions
How do I transfer photos from iPhone to PC without iTunes?
Install Apple Devices from the Microsoft Store, connect the iPhone, tap Trust, then use the Windows Photos app or File Explorer. iCloud for Windows also works without a cable.
Why can't I see all my iPhone photos on my PC?
With iCloud Photos and Optimize iPhone Storage on, many originals are only in iCloud. Download the originals to the iPhone first, or use iCloud for Windows.
Why does my PC not recognise my iPhone?
The iPhone may be locked, untrusted, or connected with a charge-only cable. Install Apple Devices and check the Apple Mobile Device USB Driver in Device Manager.
How do I open HEIC photos on Windows 11?
Install HEIF Image Extensions from the Microsoft Store. For HEVC videos, also install HEVC Video Extensions.