
Storage Sense in Windows 11 can automatically remove unnecessary temporary files and older Recycle Bin items when your system drive needs room. It can also manage Downloads and locally available cloud files, but only when you choose those options.
This guide shows the safest setup, explains what can be deleted, and helps you run a cleanup without accidentally losing a file you meant to keep.
To turn on Storage Sense in Windows 11, open Start > Settings > System > Storage, then switch Storage Sense on. Select Storage Sense to choose when it runs. Keep Downloads cleanup set to Never unless you intentionally use Downloads as a temporary folder, and review the Recycle Bin and cloud-content limits before running it.
Table of Contents
ToggleWhat Storage Sense in Windows 11 Actually Does
Storage Sense is Windows’ built-in automatic cleanup feature. Microsoft says it can remove temporary files that are no longer needed and delete Recycle Bin items after the retention period you select.
With the default settings, Storage Sense normally runs when the device is low on disk space. Downloads and cloud content are not managed unless you configure those options. Storage Sense works on the Windows system drive, usually C:; it does not automatically clean every connected drive.
How to Turn On Storage Sense in Windows 11
- Press Windows + I to open Settings.
- Select System, then Storage.
- Turn on the Storage Sense switch.
- Select Storage Sense to review its cleanup options before the first run.
Storage Sense in Windows 11 may be unavailable when a work or school administrator manages the PC because the feature can be controlled through organization policies.
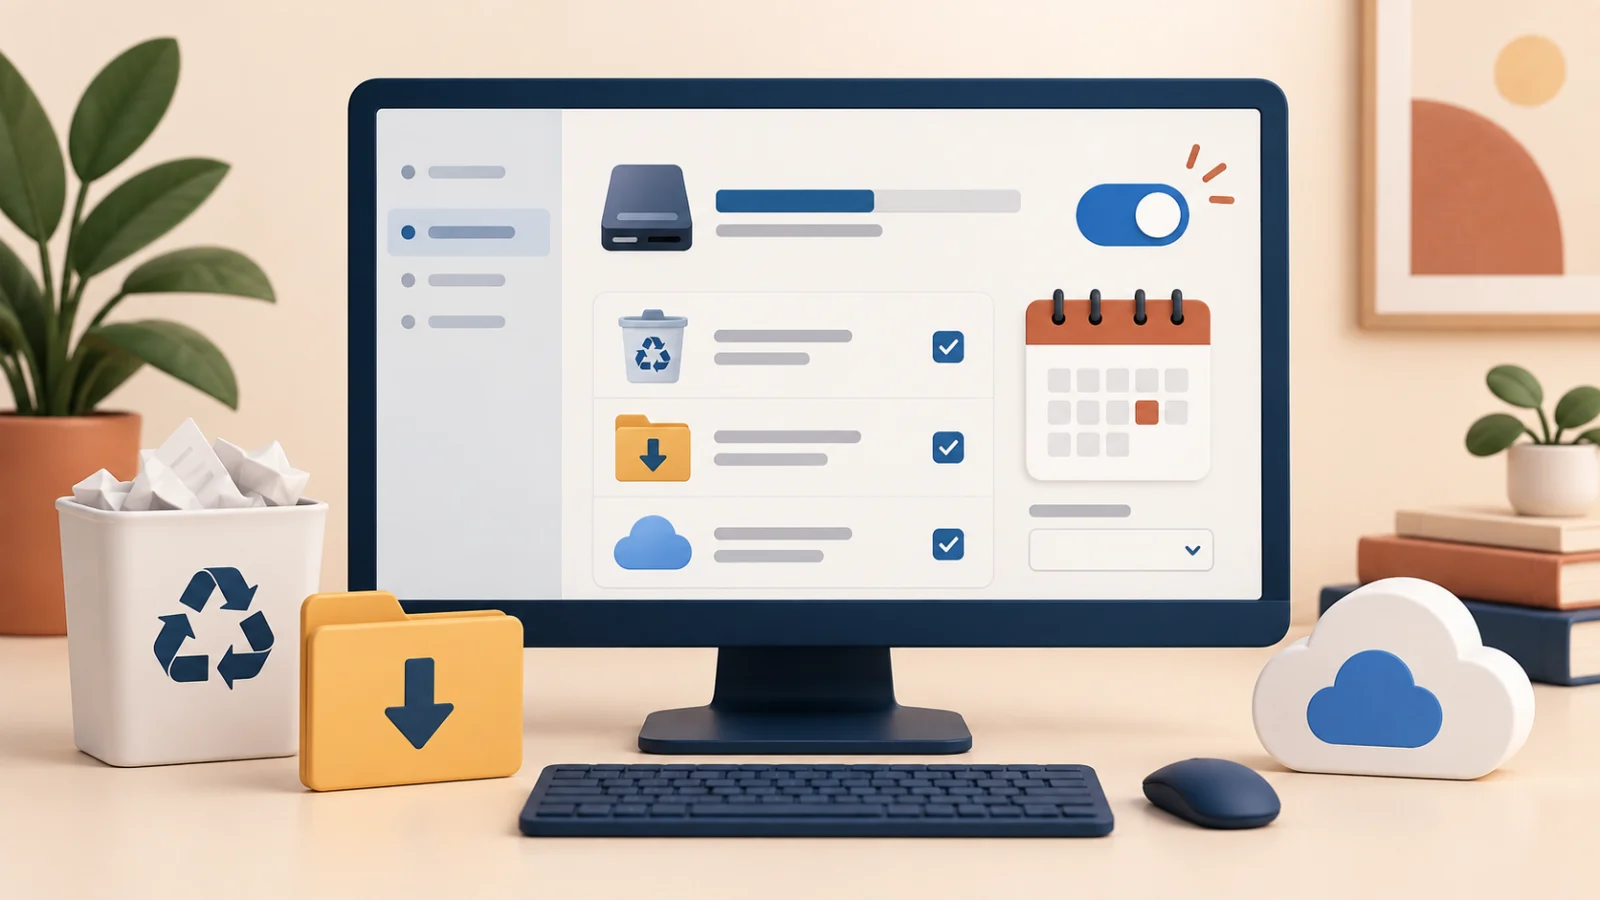
Choose Safe Storage Sense in Windows 11 Settings
Choose When Storage Sense Runs
Under Run Storage Sense, choose During low free disk space, every day, every week, or every month. The low-space option is a sensible starting point for most PCs because Windows runs cleanup only when the system drive approaches its operational limit.
Review Recycle Bin Cleanup
Choose how long deleted items stay in the Recycle Bin before Storage Sense removes them permanently. A longer window gives you more time to restore something deleted by mistake. Check the Recycle Bin yourself before selecting Run Storage Sense now.
Protect Files in Downloads
The Downloads option deletes files that have not been opened for the number of days you choose. It is disabled by default. Leave it set to Never if Downloads contains installers, receipts, documents, or other files you want to keep.
Recycle Bin and Downloads cleanup deletes files; it is not the same as moving a OneDrive file online-only. Review both locations before enabling an automatic schedule.
Understand OneDrive and Cloud-Content Cleanup
When cloud-content cleanup is available, Storage Sense can change an eligible locally stored cloud file to online-only after it has not been opened for the selected period. The file remains in the cloud and can download again when you open it with an internet connection.
A file marked Always keep on this device is exempt. Starting with Windows 11 version 22H2, Microsoft documents a 30-day default for eligible OneDrive cloud files, but you should confirm the value shown on your own PC.
How to Run Storage Sense Immediately
- Open Settings > System > Storage > Storage Sense.
- Review the Recycle Bin, Downloads, and cloud-content choices.
- Select Run Storage Sense now.
- Wait for the cleanup to finish, then return to the Storage page to review the available space.
Microsoft notes that automatic Storage Sense runs require you to be signed in and online for more than 10 minutes. Running Storage Sense in Windows 11 manually is useful when you need space now rather than waiting for the schedule.
Storage Sense vs. Cleanup Recommendations and Disk Cleanup
Use Storage Sense for recurring automatic maintenance. Use Cleanup recommendations when you want Windows to show categories such as temporary files, large or unused files, cloud-synced files, and unused apps before you decide what to remove.
The older Disk Cleanup tool is still available for manual cleanup, including some system-file categories. Do not assume that every suggested file is disposable: review Previous Windows Installation files carefully because removing them can eliminate the normal rollback option after an upgrade.
What to Do If Storage Sense Does Not Free Enough Space
- Open Settings > System > Storage > Cleanup recommendations and review each category.
- Uninstall apps you no longer use from Settings > Apps > Installed apps.
- Move large personal files to another drive or a cloud folder after confirming that a backup exists.
- Check Advanced storage settings > Storage used on other drives if the full drive is not C:.
- Use File Explorer’s This PC view to confirm which drive is actually low on space.
If automatic cleanup is not enough, use these additional low-risk ways to reclaim space on the Windows system drive.
Storage Sense in Windows 11 FAQs
Is Storage Sense safe to turn on?
Yes, if you review its settings first. Temporary-file cleanup is designed for automatic maintenance, but Recycle Bin and Downloads rules can permanently remove files after the selected period.
Does Storage Sense delete files from Downloads?
Only if you enable Downloads cleanup and select a retention period. Microsoft says Downloads is not touched by the default Storage Sense settings.
Does Storage Sense delete OneDrive files?
Cloud-content cleanup normally makes eligible locally available files online-only; it does not permanently delete their cloud copy. Files marked Always keep on this device are excluded.
Why is Storage Sense missing or unavailable?
The PC may be managed by an organization, or a policy may disable the feature. Check for a work or school account and contact the administrator if the control is locked.
Can Storage Sense clean a drive other than C:?
Storage Sense itself works on the Windows system drive, normally C:. To inspect another drive, open Advanced storage settings and select Storage used on other drives.
Keep Automatic Cleanup Conservative
Storage Sense in Windows 11 works best as a conservative maintenance tool: let it remove unused temporary files, give Recycle Bin items a reasonable recovery window, and leave Downloads cleanup off unless you deliberately manage that folder as temporary storage.
For current details, see Microsoft’s Storage Sense support guide and Windows drive-space guide.