
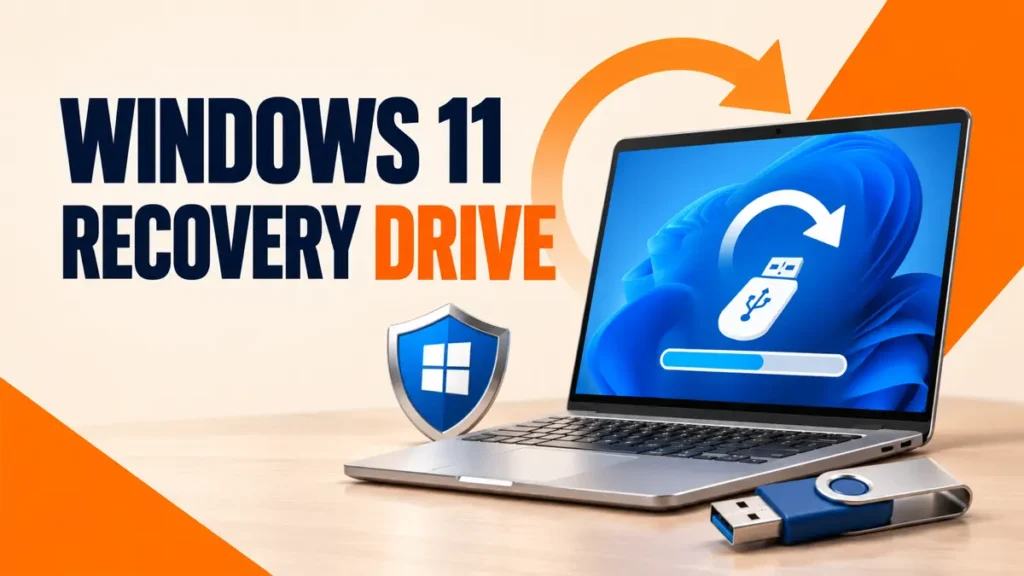
A Windows 11 recovery drive is a USB stick that can start your PC and reinstall Windows when it will not boot. It takes about half an hour to make, and most people only think about it when it is too late.
This guide shows how to create one, how to test it safely, and what it does not protect. Keep this Windows 11 recovery drive with the PC it belongs to.
Plug in an empty USB drive, search Start for Create a recovery drive, keep Back up system files to the recovery drive ticked, choose the USB drive and select Create. The drive is erased. To test it, go to Settings > System > Recovery > Advanced startup > Restart now > Use a device. Recreate it every year.

Table of Contents
ToggleWhat You Need
- A USB flash drive you can wipe. Microsoft’s older guidance asks for at least 16 GB, and a 32 GB drive gives room to spare. The tool tells you if your drive is too small.
- An administrator account on the PC.
- The laptop plugged in to power.
How to Create a Windows 11 Recovery Drive
- Plug in the USB drive.
- Search Start for Create a recovery drive and open it. You can also run recoverydrive.exe. Approve the admin prompt.
- Make sure Back up system files to the recovery drive is ticked, then select Next.
- Choose your USB drive and select Next.
- Select Create. Wait until it says the recovery drive is ready, then select Finish.
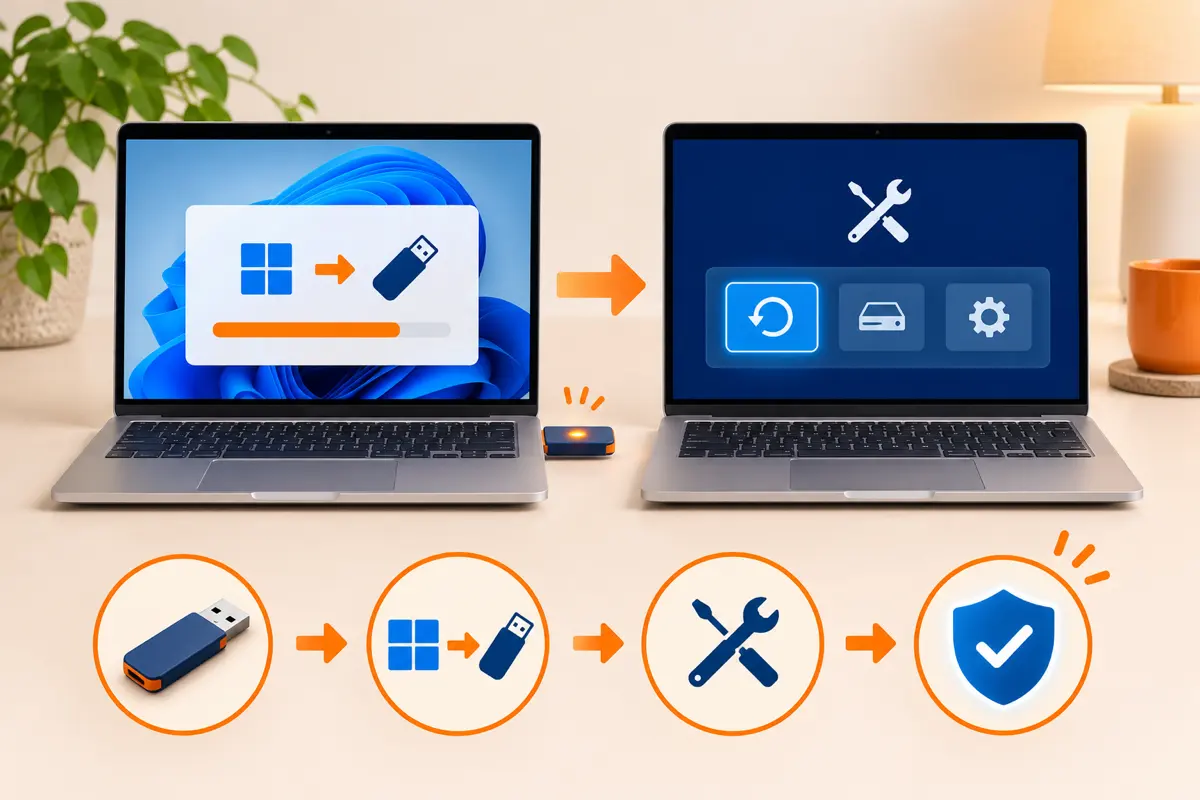
Microsoft’s Recovery Drive page says to use an empty USB drive, because the process erases any data already on it.
How to Test It Without Changing Anything
A recovery drive you have never booted is a guess. This test only checks that it starts. It does not reset anything.
- Leave the recovery drive plugged in.
- Open Settings > System > Recovery.
- Next to Advanced startup, select Restart now.
- Choose Use a device, then pick your USB drive.
- When you see the keyboard layout screen, the drive works. Choose your layout, then select Turn off your PC or Continue to go back to Windows.
If Use a device is missing, restart and press your PC’s boot menu key, often F12, F9, F11 or Esc depending on the maker, then pick the USB drive.
What a Recovery Drive Does Not Save
A recovery drive reinstalls Windows. It does not keep a copy of your documents, photos or apps. If you use it to recover the PC, you choose Just remove my files or Fully clean the drive, so your files are removed either way. Back up personal files separately. Our guide to Windows Backup vs File History explains which tool to use.
Microsoft also says the drive is meant for the PC it was made on, so make one for each computer.
Using Your Windows 11 Recovery Drive When the PC Won't Start
- Plug in the recovery drive and start the PC from it with the boot menu key.
- Choose your keyboard layout.
- Try Troubleshoot > Advanced options > Startup Repair or System Restore first. These keep your files.
- Only if those fail, choose Recover from a drive, which reinstalls Windows and removes your files.
If the PC uses encryption, recovery tools may ask for your BitLocker key. Find it before you need it with our BitLocker recovery key guide.
Recreate It Every Year
Microsoft recommends recreating the recovery media every year so it includes the latest Windows updates. Label the drive with the PC name and date, and keep it somewhere you will remember. If you would rather start fresh with a clean copy of Windows, see how to reset Windows 11 without losing files.
Frequently Asked Questions
How big does a Windows 11 recovery drive need to be?
Microsoft’s older guidance asks for at least 16 GB. Use a 32 GB drive to be safe, and the tool warns you if it needs more.
Does a recovery drive back up my files?
No. It reinstalls Windows only. Back up documents and photos with File History, OneDrive or another backup tool.
Can I use my recovery drive on another PC?
Microsoft says the drive is meant for the PC it was created on. Make a separate one for each computer.
How often should I make a new recovery drive?
Microsoft recommends recreating it every year so it includes recent Windows updates.